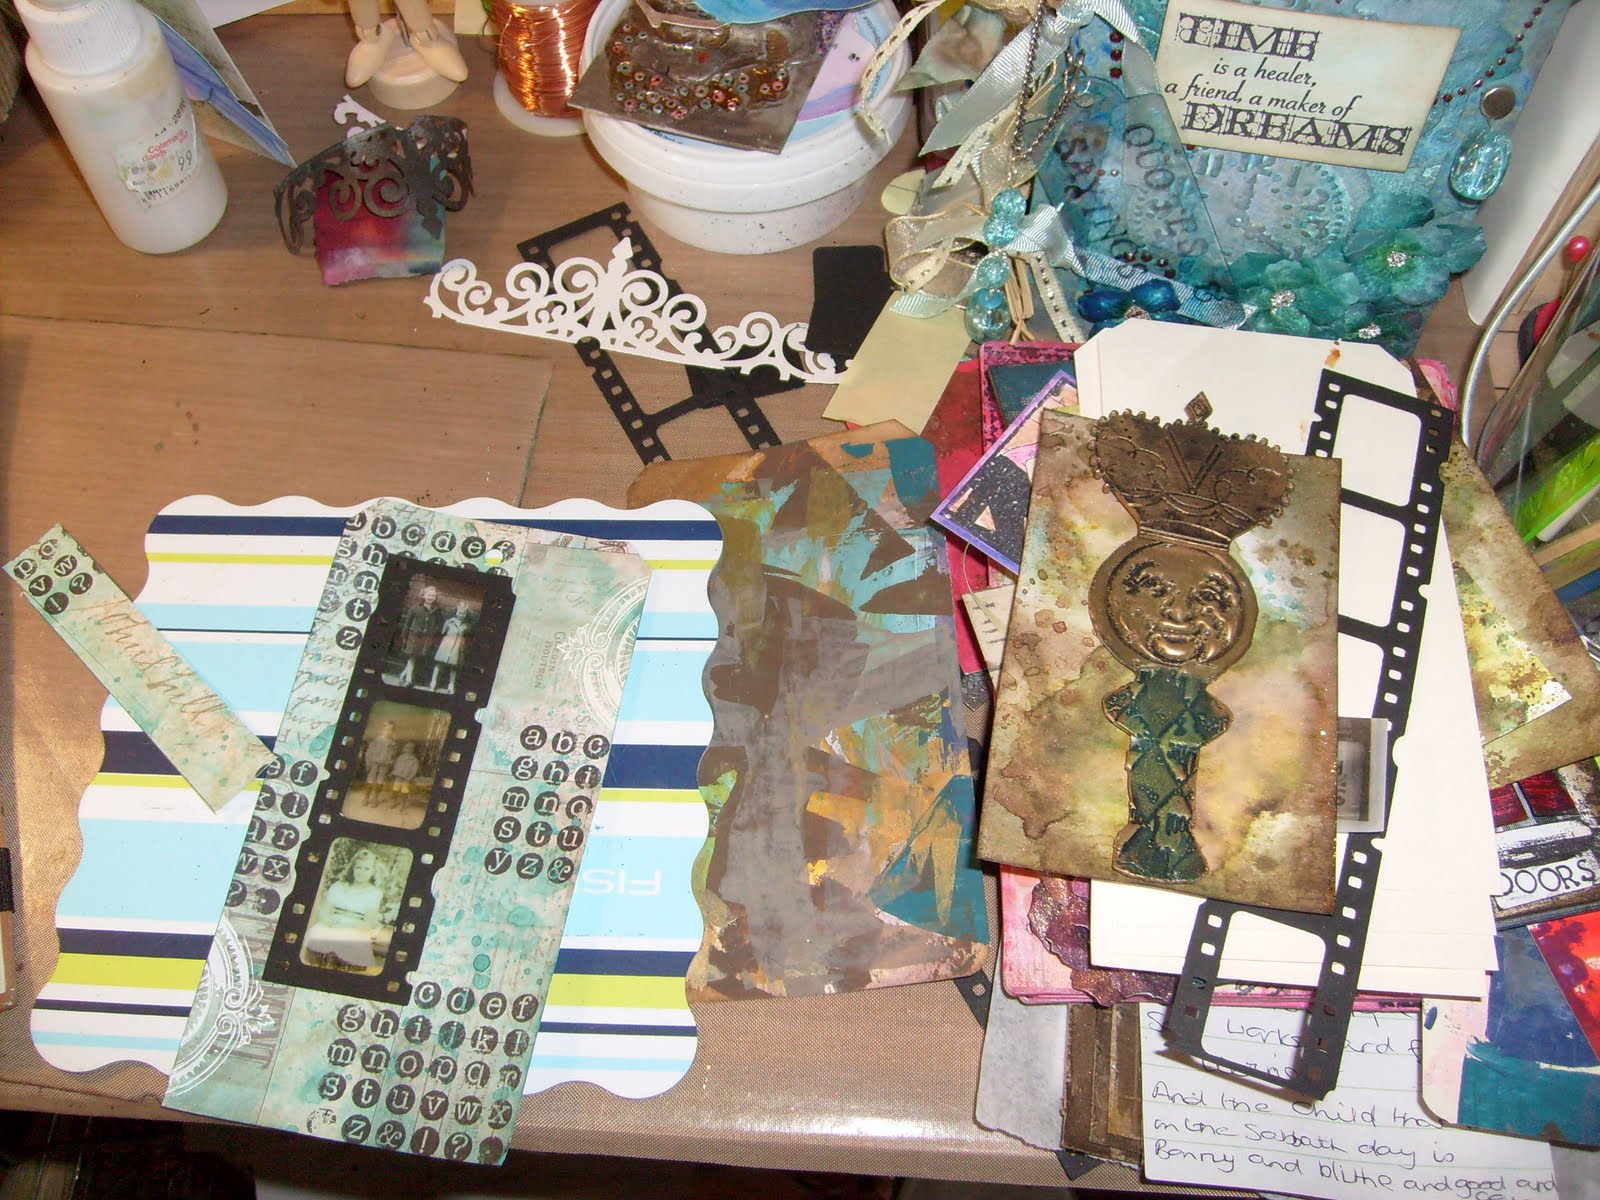
Here is my desk this week! Not a lot on it as I have had to knit more chickens (for my 2 grandsons and my daughter), I did make the white canvas and cut out a template.
 Here is the canvas, this was so hard to photogragh! It has lots of Rock Candy crackle paint and silver rub and buff on it! The flowers are cut from hand made paper with Tims tattered flowers dipped into UTTE, the middles have dazzles in them.
 Last week I showed what is to the right of my desk, this is what is to the right! the wooden cubes have papers,books andin the cupboard are 'naked things' waiting to be papered, painted and grunged in various ways! (I would open it but everything would fall out!) on the top more papers 12x12 and boxes of chipboard letters. Next to the cubes is a trolly, on the bottom mags, the Ikea drawers have stamps and inkpads in them.
Storage jars have lots of 'bits' in them (buttons, feathers,beads, eyelets lots of odds and ends I can't bear to part with!
 The othe side of the window more storage cubes draws have tins, empty ribbon rolls,bits of material, postcards, old photos and images. Boxes more of the same.
 This trolly has my guillotine on it, the wire drawers have tools in them, more art bin boxes with paper in them. The drawers to the left have white card, acetate, canvas paper, shrink paper and watercolour paper in it.
Well thats me for this week!
Thanks for looking and if you want to join in or have a look at some more pop over to Julia's HERE , there is always something yummy to look at!