Friday 10 July 2015

My New Art Space!


I am such a lucky girl! A few months ago we had a new Summerhouse put up in our garden! I have about a third of it to draw and paint in! (Have promised it will not spill out into the rest of the summerhouse). I found this cupboard in a lovely little shop called The Vintage Locket in Rushden, it was shoved at the back of the shop looking very sorry but it was just what I needed! The lovely owner said she would paint it for me (the same as the sideboard I had just brought!) 

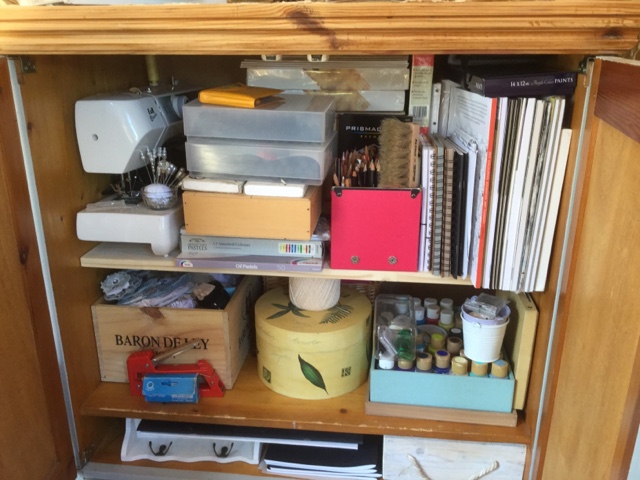
The inside needs more work from me but most of the things I wanted in there fitted perfectly!

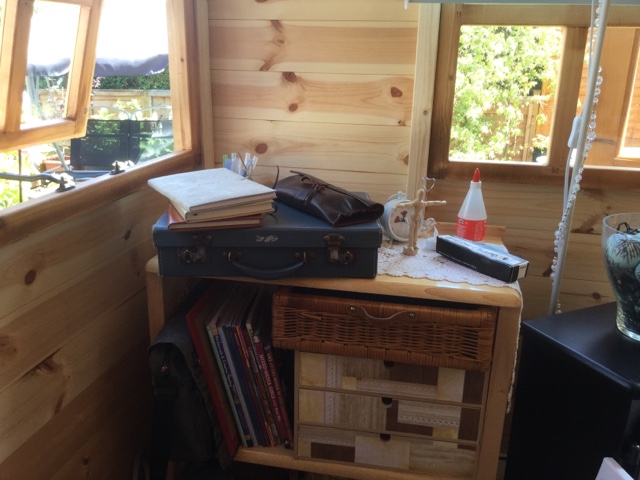
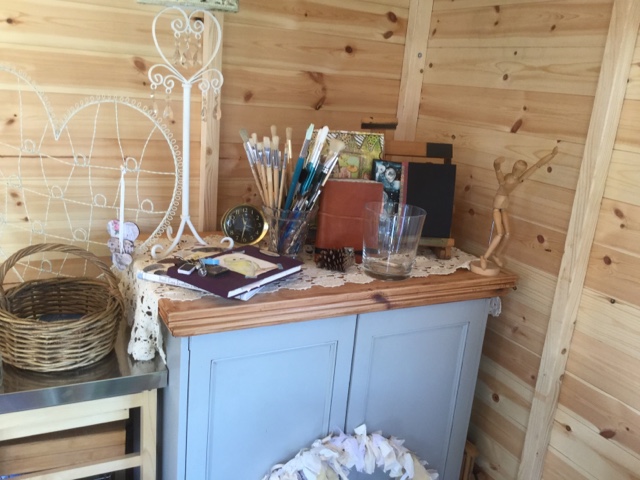
This is the other side of the room with my tiny table (I mostly hold my paper/book/canvas when I work so I just needed a small space for paints water etc) in the drawers there are pens, in the suitcase is my ready to go art things (although I haven't had the confidence to actually go anywhere and draw yet)! 
I am just waiting for some electricity to be installed so I can have Internet out there so I can art away while watching my friends on Ustream! 

Monday 15 June 2015

Loving Tim's Big Butterfly!


I am having fun with Tim's big butterfly and dragonfly dies! These are coloured with metallic guilding wax!

I'll tell you what to write!


Love this picture! I am sure they were plotting something between them! Lol

Prismacolor pencil crayons


My outline drawing


Putting in the highlights

Adding some colour


A few weeks ago Dede (inkwell) showed us step by step how to use Prismacolors to do this picture of one of our fellow u stream friends little daughter. Dede provided an outline that we could print off but of course I didn't have the right paper or any ink at the time so a couple of days after when my paper came I attempted to draw my own (was quite pleased with the outcome but her eyes are a little big) so armed with all my Prismas and 3 lessons later this is what I achieved!
Lots more practice needed!

Wednesday 29 October 2014

My Autumn Table Display


Instead of making orange pumpkins I made cream ones thinking that my table decoration could stay there well after Halloween, infact it may stay until I put my Christmas decs up!
The pumpkins were made from a piece of new material I found at the car boot. Just a rectangle 2 1/2 times as long as it is high for eg: 7ins high X 17 1/2ins long (makes the smaller pumpkin) the bigger one measured 9ins X 22 1/2. So any size can be made.
Then with right sides together sew along the short edge, use a running stitch to gather up one of the ends, turn inside out and stuff (quite firmly) then gather up the other end, pull as tight as you can! To make the ridges attach thread to the top wrap around the pumpkin twice and pull as tight as you want and secure well, repeat twice more spacing out so you have 6 sections on your pumpkin, attach leaves and stalks.
I put my decoration on a table mat just so it would be easier to move it from the table without disturbing it too much!
These are a fun little thing to make they really don't take long to make (I made 5 in a couple of hours) and great to make with the kids!

Tuesday 7 October 2014

A quick sketch


My Fur Baby was 1 on Saturday!

I cannot believe Bella is a year old already, (although she came to us in November)! She is the cutest, most loyal friend anyone could wish for!